Camping Power Banks: Capacity, Weight and Solar
Plan a camping charging kit from daily energy use, carried weight and realistic solar conditions, with a worked Wh budget and pre-trip checks.
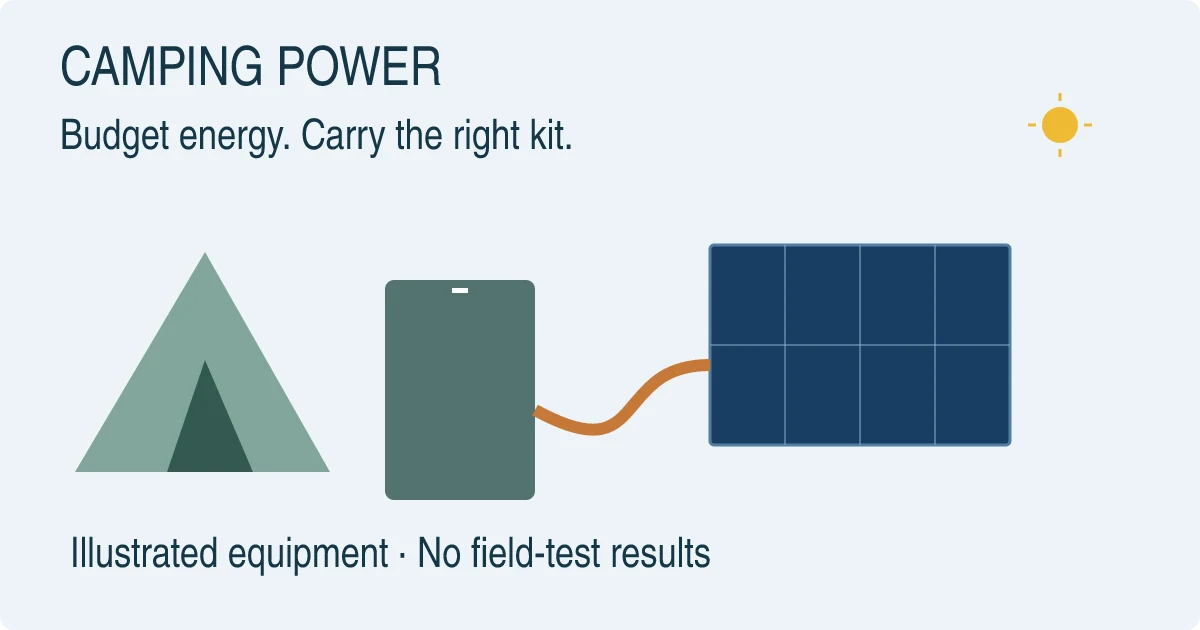
Illustration: plan energy, weight and solar separately before choosing a kit.
Underestimating your charging needs can leave navigation or lighting unavailable before the next reliable outlet. Choose a camping power bank by calculating the energy your devices need between recharge opportunities, then compare complete kit weight and treat unverified solar input as a supplement.
This guide helps you choose a setup for phones and small USB-powered accessories on camping and backpacking trips. It is a source-based planning guide, not a product ranking or field test. The worked example uses assumed inputs; it does not predict your phone’s endurance. For the broader compatibility decision, start with our power-bank selection guide.
| Input or item | Value or source to record | Why it matters |
|---|---|---|
| Daily charging demand | Your own representative use, in Wh | Sets the energy budget |
| Days between reliable outlets | Itinerary, including an allowance for delay | Sets the period to cover |
| Usable bank output | Measured or documented USB output energy under stated conditions | Avoids treating stored energy as delivered energy |
| Complete carried mass | Bank, cables, adapters, charger and any solar panel | Makes weight comparisons fair |
| Solar opportunity | Exposed location, season, shading and time available to deploy | Determines whether harvesting is practical |
| Temperature limits | Exact bank and device manuals, including charging limits | Establishes conditions in which the kit may operate |
Build the energy budget around your actual itinerary
Use the interval between dependable charging opportunities, rather than the total holiday length. An available campsite outlet counts only if you can reasonably access it when needed. A possible café stop or an untested panel is a weaker basis for sizing the energy you carry.
List each device, how it will be used and how often you expect to recharge it. Navigation with a bright display, photography and overnight lighting are different loads. A rehearsal with your own devices is more useful than someone else’s number of “phone charges.” Keep the starting charge level and intended end level consistent when comparing days.
A USB energy meter can record energy supplied through a compatible charging connection. If you use that approach, label the readings USB input Wh and keep the meter, cable, charging mode and device state consistent. A phone’s battery percentage is an approximate state indicator, not a direct USB energy measurement. Do not mix readings taken at different points in the charging path as though they describe the same energy.
For a simple planning example, assume the phone needs 12 Wh per day at its USB input, while a headlamp and other small accessories together need 3 Wh per day. Over 3 days, that is (12 + 3) × 3 = 45 Wh delivered to the devices. Adding an explicitly chosen 9 Wh reserve gives a target of 54 Wh of usable USB output. These are invented planning inputs to demonstrate the arithmetic, not measured or typical device consumption.
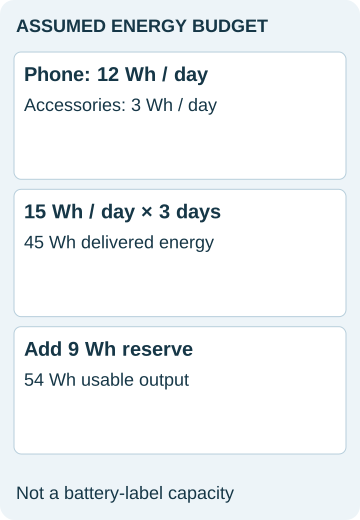
Compare that target with the energy a candidate bank can deliver at the output mode you intend to use. Battery-label Wh and usable USB output Wh are different measurement points. If you only have the stored-energy rating, you still need information about conversion losses and the operating conditions. There is no universal efficiency factor used in this guide.
Common mistake: Selecting a bank because its printed capacity happens to equal the calculated output requirement. A matching label does not establish that it can deliver the required energy.
Separate energy from power. Wh describes the budget; the USB output rating and supported charging modes determine whether a device can accept power through that connection. Our USB Power Delivery explanation covers that distinction in the charging interface.
Takeaway: Write down the required usable output and the measurement basis before choosing a capacity label.
Compare the weight of the complete charging kit
A lightweight bank is useful only if the rest of the kit supports the trip. Weigh the actual cables, any proprietary watch cradle, the wall adapter you will use at resupply stops and protective carrying materials. If you add solar, include the panel and its connecting cable in the same total.
Make two candidate packing lists with the same energy and compatibility requirements. Record the total mass in grams, the documented usable energy if available, and the items each setup can charge. Leave an unknown output-energy field blank instead of giving the more detailed specification sheet an invented advantage.
The same bank can suit a car-access campsite and be an awkward choice for a long walk. At a campsite, size and mass may matter less than convenient ports. For backpacking, a feature is worth carrying only if you expect to use it. Neither setting justifies counting solar energy that your proposed setup has not demonstrated.
Cable choice can change what a compact kit can actually do. Use the USB-C cable checklist to match the required connection and power rating. For outlet stops, the GaN charger guide explains why a small charger still needs the right port allocation. A high bank output rating says nothing by itself about how quickly that bank accepts energy from an outlet.
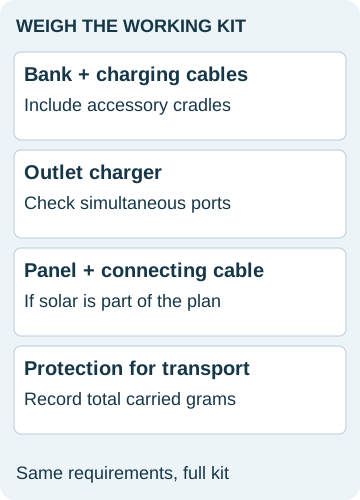
Takeaway: Compare grams for the whole working setup, including the equipment needed to recharge it.
Judge solar by the collection conditions
Solar-panel area and battery capacity answer different questions. A battery stores energy; a panel collects sunlight and converts part of it to electricity. A large mAh claim therefore does not tell you how much energy an attached panel can harvest.
The US Department of Energy defines photovoltaic conversion efficiency as the share of incident solar energy converted into usable electricity. Its efficiency explanation also describes losses in the conversion process. Do not substitute a claimed cell efficiency for the complete charger’s USB output efficiency. This guide does not assign a generic efficiency percentage to portable panels.
For otherwise equal conditions, more active collection area intercepts more sunlight. But your route controls the light reaching that area. DOE’s solar-radiation guide identifies location, time, season, landscape and weather as relevant inputs. A panel placed toward the sun at a stationary stop has a different exposure pattern from one swinging on a backpack through trees.
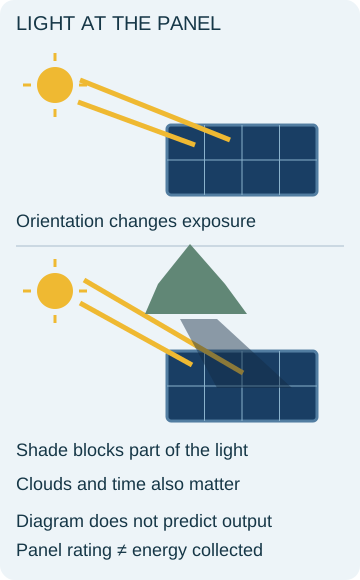
DOE separately distinguishes energy yield from efficiency measured under laboratory conditions. Heat, dirt and shade can affect actual production. For a trip, write down where you can set the panel out, how it will face the sun and whether you can check the connection. “Outside all day” is not a usable charging specification.
A useful pre-trip trial records the panel, bank, cable, location, weather and orientation, together with output energy over the observation period. Repeat with the sort of shading you expect. Use the results only for comparable conditions. We have not conducted that trial and do not publish a solar refill time or a promised daily harvest.
Takeaway: Assess collection area, exposure and the complete charging path before allowing solar to reduce the energy you carry.
Choose between integrated and separate solar hardware
An integrated solar power bank puts the panel and storage in one assembly. A separate panel lets you position the collection surface independently from the bank, within the cable’s reach and the products’ instructions. That flexibility can matter when the panel needs direct light but the battery and phone need protection from heat.
| Decision | Integrated panel and bank | Separate panel and bank |
|---|---|---|
| Carrying and setup | Fewer separate pieces to manage | More pieces and an interconnecting cable |
| Collection surface | Inspect the actual active area, including any unfolding sections | Inspect deployed area, packed dimensions and panel mass |
| Placement | Panel and battery positions are coupled | Panel and bank positions can be chosen separately |
| Evidence to request | Solar input specification and conditions, not only storage capacity | Regulated output specification and compatibility with the bank input |
| Replacement | Check whether components can be serviced separately | Panel and bank can be evaluated individually |
Do not decide solely from the words “solar power bank.” A folding integrated design and a small single panel on a battery case are not the same collection geometry. Likewise, a large separate panel is not automatically the lighter or more practical option for your trip.
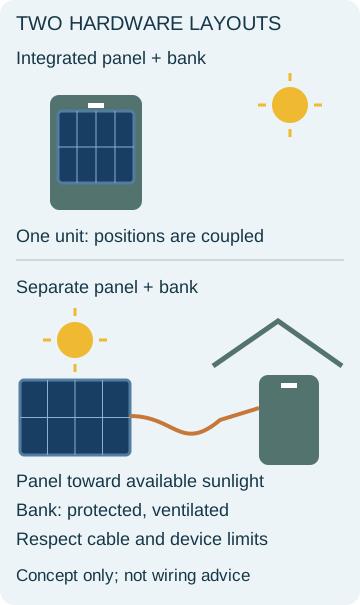
Goal Zero’s Nomad 10 manual, English printed pages 4–6, provides a useful example of separate collection and storage: that panel has no built-in battery and can feed compatible USB devices or a separate bank. The same document lists a 10 W panel rating and a 7.5 W maximum USB port output. Those are specifications for that model, not interchangeable promises about energy harvested or a recommendation to buy it.
Before buying a separate setup, compare the panel’s regulated output with the bank’s supported input. Then verify that charging resumes after shade is removed. The Nomad manual describes its own auto-restart feature; that does not establish identical behavior in every panel or bank. Our charging and power library links the underlying interface guides.
Takeaway: Choose the layout that you can deploy and verify on your route, with compatible input and output specifications.
Plan for cold devices and hot charging locations
Cold conditions can reduce lithium-ion performance, but a universal percentage loss would be misleading. A technical presentation by ABSL Power Solutions, hosted by NASA, describes slower lithium transport and reduced cell voltage at low temperature in its space-qualified commercial-cell research, slide 21. Those cell experiments do not specify the endurance of a consumer power bank.
For a practical consumer-device example, Apple’s temperature guidance, published May 14, 2026, says very cold conditions outside the operating range may temporarily shorten iPhone or iPad battery life and prevent charging. It also warns against extended direct-sun exposure and explains that excessive heat can slow or stop charging. Apply the exact bank’s instructions separately; a phone’s limit is not a bank’s charging limit.
Record charging, discharging and storage conditions as distinct fields whenever the manual distinguishes them. Do not use a storage-temperature range as permission to recharge a cold bank. Allow a device to return to the manufacturer’s permitted conditions rather than bypassing a protective shutdown or improvising a heating method.
If a compatible charging mode matters for your phone, check the PPS requirements before departure. Protocol compatibility does not override temperature protection. Similarly, Qi2 and MagSafe compatibility addresses a connection choice, not whether a device can safely charge in a hot campsite.
Takeaway: Use each device’s own operating instructions and preserve an energy margin without assuming a fixed cold-weather penalty.
When this plan needs a different approach
This worksheet covers small USB charging loads. An AC appliance, substantial continuous load or appliance-specific startup requirement calls for a different assessment; portable power-station selection is outside this article. Do not convert the phone example into a refrigerator or medical-device power plan.
A route whose safety depends on uninterrupted electronics needs a wider navigation and contingency plan than a power-bank comparison. Solar input remains uncertain when the panel cannot be deployed in useful light. An extra capacity label also does not resolve an incompatible connector, damaged cable or device that refuses to charge.
Before leaving, assemble the complete kit and charge every intended device through the actual ports and cables. Record what worked and what remained unknown. The general power-bank guide can help separate the specification fields; use the trip worksheet here to decide what you must carry.
Common mistake: Counting the same energy twice, first as stored reserve and again as a hoped-for solar refill. Keep carried energy and uncertain future input in separate rows.
Takeaway: Change the plan when the load or consequences exceed what a small USB charging setup can support.
Frequently asked questions
Is it better to carry two smaller power banks than one larger bank?
Two banks let you separate devices or keep one reserve unit available if the other fails. They also add a second housing and may change the cables or charger you need. Compare complete mass, compatible ports and the consequences of losing one unit. Two banks do not automatically recharge twice as fast; that depends on both input limits and the wall charger’s simultaneous output. This is a redundancy decision after the energy requirement has been established.
Why does pass-through charging work from the wall but fail with a solar panel?
A bank may require particular input power or charging modes before it supplies a device while recharging itself. For a concrete example, Anker’s guidance for its 25K, 165W model with built-in and retractable cables requires at least 20 W input to enable pass-through. That threshold belongs to that model. Check your own manual and test the separate panel-to-bank and bank-to-device connections before relying on their simultaneous operation.
Why can a bank charge my phone but stop charging a watch or earbuds?
Some banks need a low-current mode for small accessories. Anker’s support page for the 325 Power Bank specifies a trickle-charging mode for devices including earbuds and watches. The control sequence and supported ports are model-specific, so use your own manual. Check whether the small device was already almost full before treating every interruption as a fault.
Does USB-C mean a power bank cannot charge from solar?
No. The connector shape alone does not answer whether a particular combination works. You need a regulated panel output, a supported bank input and the appropriate cable. For example, a USB-C input may also accept a supported lower-power USB source, but you must confirm that in its specification. A passive adapter does not create a missing charging mode or stabilize insufficient sunlight. Ask the manufacturers about the exact panel and bank rather than assuming all USB-C banks behave alike.
Is a water-resistant power bank enough for rainy camping?
Check the rating’s conditions and the instructions for use with cables connected. A protective claim for a closed product does not establish that an exposed charging port may be used wet. The NITECORE NB10000 manual, for example, instructs users to avoid damp environments and rain. Plan dry storage and a dry charging location that also respects ventilation requirements; a sealed carrying bag is not automatically a suitable charging enclosure.
How should I prepare a bank that has been stored between trips?
Read its storage and maintenance instructions, inspect the case and connectors, recharge as directed and verify the intended charging connections before packing. Anker’s lifespan and temperature FAQ recommends recharging its portable chargers at least every three months. That is the manufacturer’s guidance, not a universal storage interval or proof that an old bank retains its original usable energy.
Methods and sources
Tech Gadgets Now Editorial Desk prepared this guide from official documents checked October 7, 2026. The budgeting arithmetic and packing worksheet are original, illustrative planning aids. The article was drafted with AI assistance. We did not conduct battery-capacity, cold-weather or solar-output tests, and no independent human review is recorded. The five illustrations explain the method; none is a product photograph or measured performance chart.
DOE sources support solar principles. The Goal Zero and NITECORE manuals and Anker support pages illustrate specific documented behavior, without a purchasing endorsement. The NASA-hosted ABSL presentation supports a limited cell-level explanation; its results are not a consumer-bank forecast. Apple guidance applies to the devices it names. The site’s About page explains its publication scope.
FAQ demand came from actual community questions about two smaller banks, solar pass-through interruptions, small-device charging, USB-C and solar compatibility, and wet-weather use. The storage question also draws on Anker’s official preservation FAQ linked above. These are question sources, not evidence for commenters’ product claims or our own testing.
Related articles
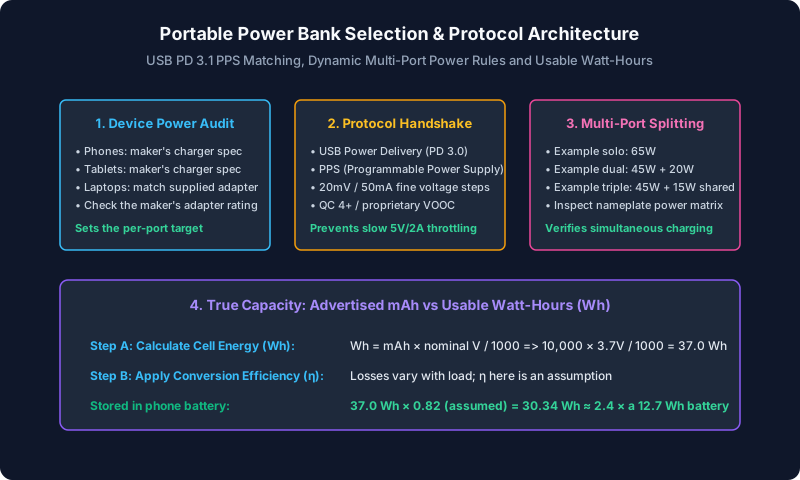
How to Choose a Portable Power Bank: Buyer Guide
A buyer's guide to choosing a portable power bank: USB-PD 3.1 PPS protocols, dynamic power sharing, cell capacity, and FAA airline watt-hour limits.
Read article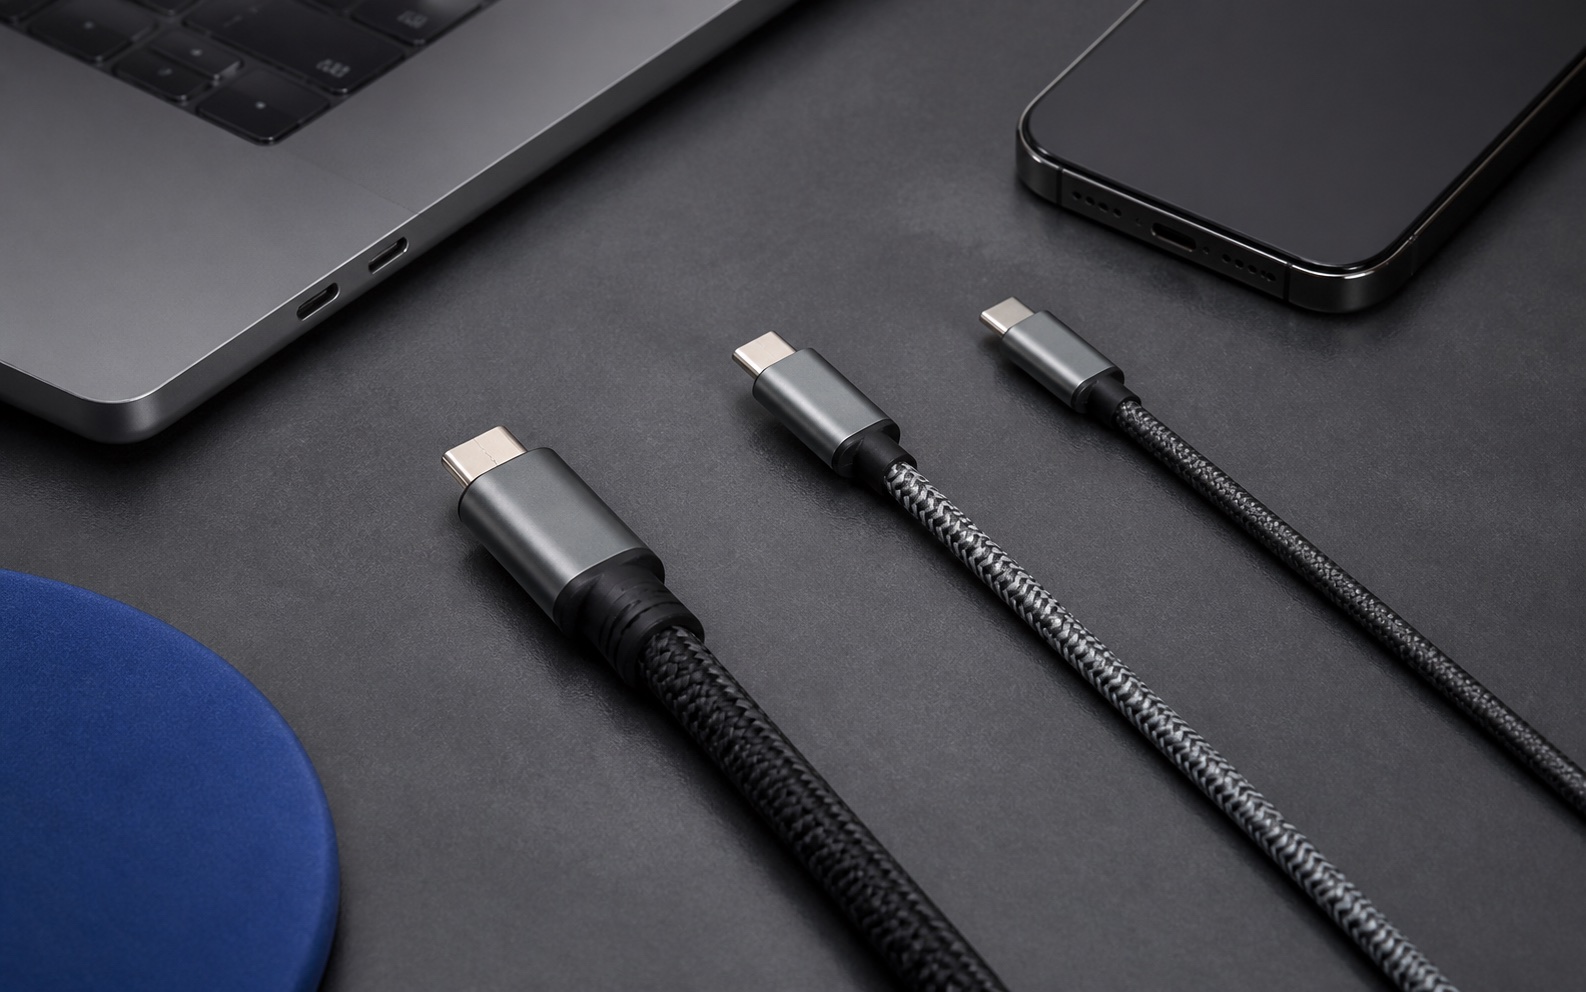
How to Choose a USB-C Cable for Charging and Data
USB-C cables can look identical while supporting different power and data capabilities. Match the cable to the job, then verify the rating and certification.
Read article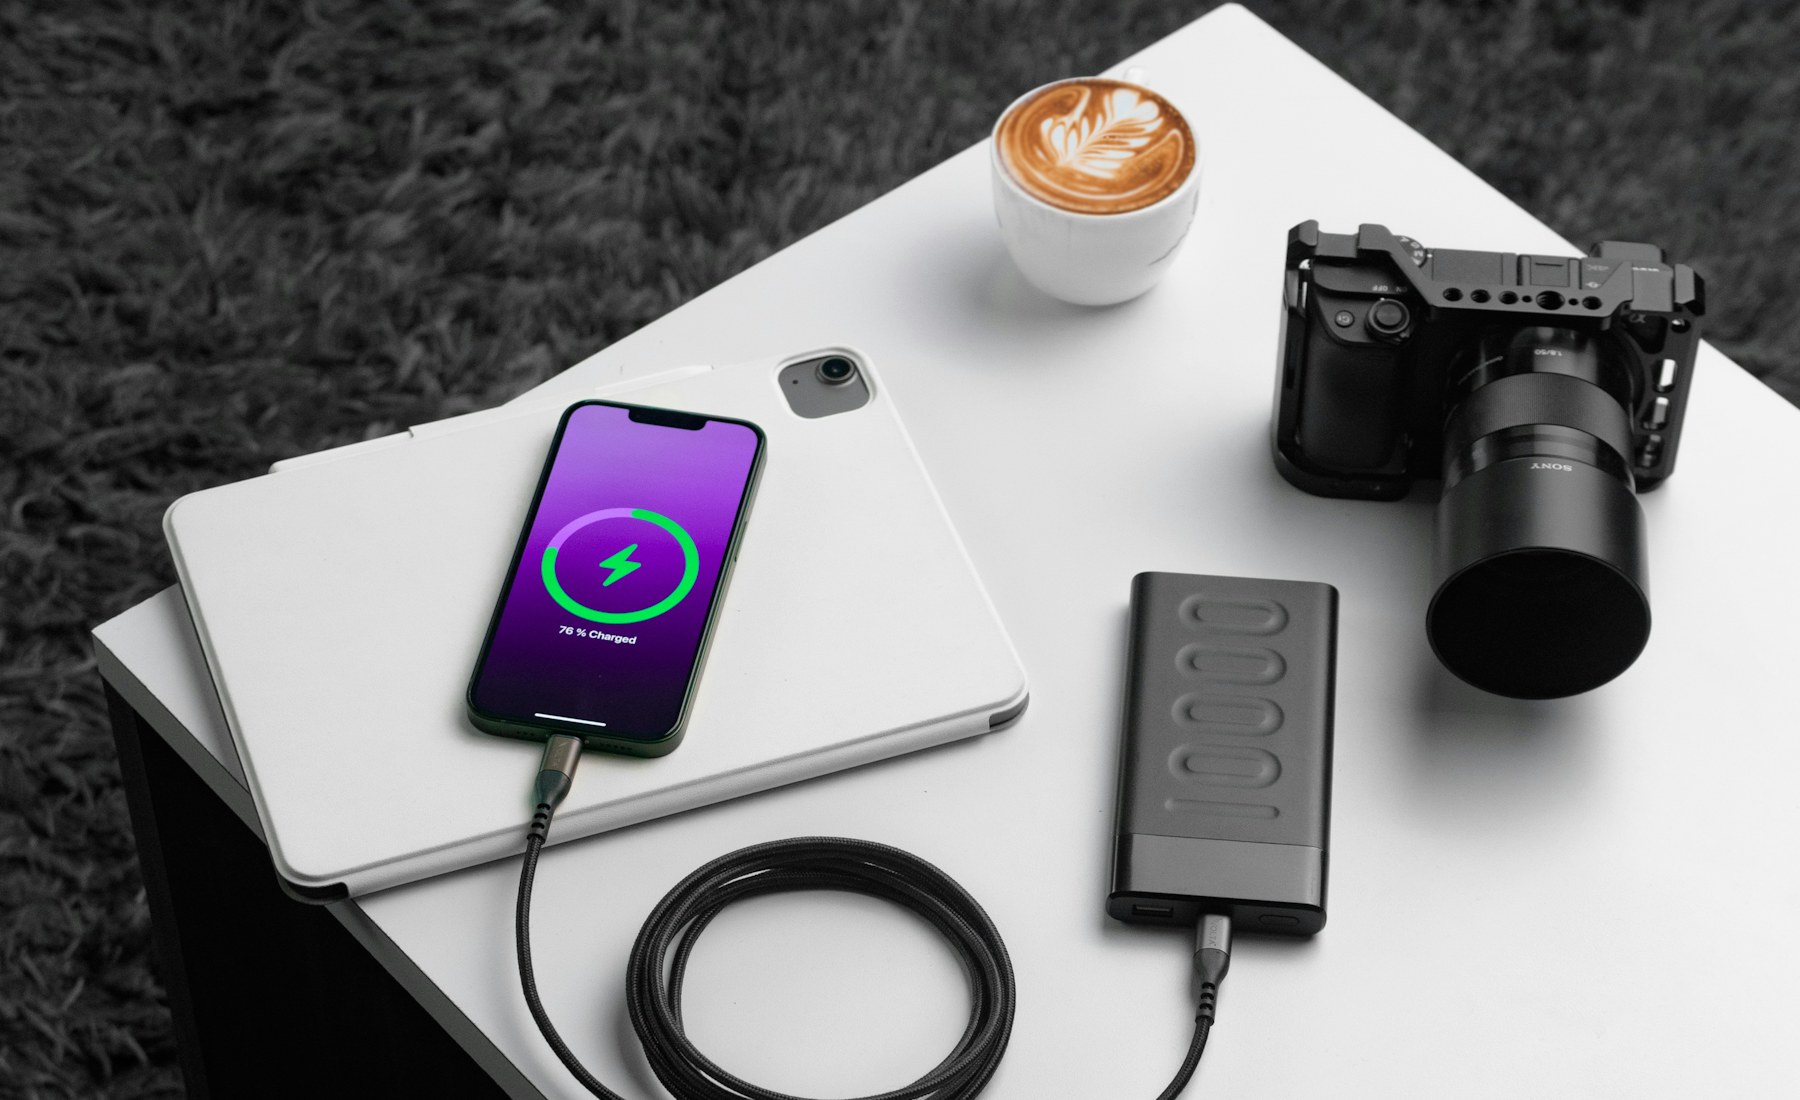
Qi2 vs MagSafe: What Changes When You Buy a Wireless Charger
Qi2 and MagSafe both use magnetic alignment in compatible products, but the label on a charger still matters for certification and compatibility.
Read article